Last updated on January 26th, 2023 at 05:34 pm
Today’s post is crucial. Revenue optimization is one of the most important factors for a successful monetization strategy. More revenue means the publisher can invest more in creating meaningful content that users love to read. In this post, we will discuss in detail some of the existing ad placement plugins for WordPress. After reading this post, you will have a detailed knowledge of the plugins and you can also filter which combinations of ad placement plugins will be right for your blog.
Publishergrowth: The Revenue Acceleration Platform for Publishers
Blognife is elated to announce the launch of Publisher Growth- a community of publishers that helps you actively accelerate your revenue. This platform assists publishers in growing their traffic and revenue. As publishers, you can share and read reviews of ad networks and hosting companies. You can connect with other publishers to build links for growth and monetization hacks and more. This platform will help you stay up to date with the advertising and publisher ecosystem.

Features:
Top 5 AdSense WordPress Plugins for 2023
Here are some of the best AdSense WordPress Plugins for 2023.
1. Quick AdSense- Easy Ad Management

Setup Level: Easy
Appropriate for: Beginners
Use Case: Recommended if you’ve content which are somewhere of similar word count
Opinion: Recommended
Quick Adsense is an Ad management WordPress plugin. It offers a quicker & flexible way to insert Adsense or any Ads code into a blog post. It comes with a simple setting page, and it does not overwhelm you with complicated customizable options. If you’re getting started with ad placements, this is the first plugin you would consider installing from the WordPress plugin repository.
Pros: Benefits of Using Quick AdSense
Very Easy Setup: You can get live in minutes with your ad code. The settings are simple and easily manageable through the Settings>Quick AdSense tab on your WordPress
Multiple Options to Set in-Content ads: Quick AdSense plugin provides you a number of options to show ads within the content area of your post. You can choose to display ads on the top of the content, after 1,2,3,4… paragraphs. It also allows you to place ads in the middle of the content, bottom of the content and right above the first paragraph. You can also left, right and center align the ads according you the customization that fits your blog.
Suggested Placement Guide for Quick AdSense: I suggest you place 3 AdSense ads within the content if your blog has 500-700+ words articles. You can place the first ad unit after the first paragraph (aligned center) or at the top of the content (aligned left) so that the text can wrap it. Place the second ad in the middle of the content and the third ad right before the last paragraph (both of them center aligned).
In general, placing Adsense randomly within a post is a good way to experiment a variety of ads formats & placements besides optimizing your Adsense ads. If you have many regular visitors who frequently revisit your blog, the randomization will likely catch their attention.
2. Advanced Ads and Advanced Ads Pro

Setup Level: Moderate
Appropriate for: Beginners and Advanced
Use Case: Recommended if you want to show different ad sizes based on mobile/desktop traffic, promote affiliate banners, want to enable sticky ads/popups, show ads based on locations.
Opinion: Highly Recommended
Advanced Ads is one of the most feature packed WordPress Ad Placement plugin. However, placing ads with Advanced Ads might require an initial setup, but once done, you can explore the multiple features that this plugin can offer. The basic (free version) of the plugin is good enough to get you started, however I suggest you get the Pro Bundle to access all its features.
The free version of advanced ads let you create unlimited ads placements, group ads to create ad rotation, schedule ads, set expiry date and time. It lets you display AdSense ads or ads from other networks and affiliates, rich media ads etc. You can use shortcodes to post ads anywhere within the content, place ads on sidebar, inject ads on top, bottom and with paragraph.
In addition to this, the pro bundle comes with the following features,
You can implement sticky header, footer, left-right sidebar, anchor ads. You can also display popup ads when a visitor wants to leave your site, and thus can monetize your exit traffic. Additionally you can use popup and layer ads, display ads based on the geo location of the visitor. Geo targeting by country, city, and continent, create a simple slider from your ad groups, track impressions and clicks for your ads and display them with beautiful graphs. The pro-bundle is a must have if you’re looking to increase your ad revenue or promote affiliate products or links. Advanced ads is one of the most interesting feature rich plugin you can ever try!
Suggested Placement Guide for Advanced Ads: Both the pro and the basic version of advanced ads let you filter audience based on mobile and desktop. I would suggest you place a 300×600 ad unit only for desktop view since this sidebar ad unit doesn’t perform well on mobile devices. You can place an additional 300×250 ad unit and let it display within the content area only on mobile. Additionally you can explore the group feature to rotate affiliate ads and see which converts well and assign weight accordingly.
3. Ad Injection – Easy Ad Setup
Setup Level: Easy
Appropriate for: Beginners and Advanced
Use Case: Ad injection is a quick adsense alternative and lets you place ads within the content based on your content length. Recommended if your blogpost’s content length is fluctuating.
Opinion: Recommended
Ad Injection from reviewmylife injects any kind of advert or other content (e.g. Google AdSense, Amazon Associates, ClickBank, TradeDoubler, etc) into the existing content of your WordPress posts and pages. You can control the number of adverts based on the post length, and it can restrict who sees adverts by post age, visitor referrer and IP address. Adverts can be configured in the post (random, top, and bottom positions) or in any widget/sidebar area. There’s support for A:B split testing / ad rotation. And support for dynamic restrictions (by IP address and referrer). You can also place ads based on the word count of your content. If you’re looking for a simple plugin that does much of the ad placement work, I would recommend Ad Injection after Quick AdSense based on the easy of implementation and usage. With over 40,000 downloads,
4. AmpedSense- Split Test your AdSense Ads

Setup Level: Moderate
Appropriate for: Beginners and Advanced
Use Case: Recommended if you want to increase your ad revenue via split testing.
Opinion: Recommended
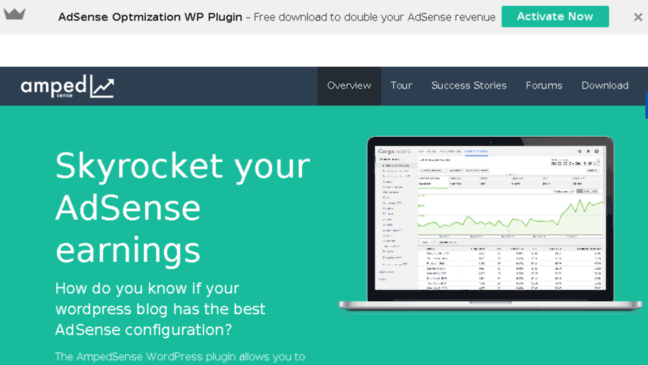
AmpedSense allows you to inject and split test various AdSense configurations into your wordpress blog until you find the best AdSense ads to use on your site. You can download the AmpedSense plugin directly from the official WordPress plugin repository.
Optimize ad placement- Do you know if it’s better to place your ads above or below your content? In the sidebar? What about embedded within your articles? Test various standard positions as well as custom positions with our widget.
Optimize ad type- Display ads vs text ads vs link units? Which give you the most earnings?
Optimize ad size- There are 18 different ad sizes (that’s a lot!). Does bigger get you more revenue?
Optimize ad colors- Stick with Google’s default, or try to match the color scheme of your own site?
Test custom ad snippets- Want to test other ad networks compared to AdSense? You can paste any custom HTML or Javascript snippet and test head to head.
Optimize ad quantity- Will you get more earnings if you place multiple ads on your page? Test one ad vs many ads to see if it’s more profitable, or just more annoying to your visitors.
5. AdPushup- Increase Ad Revenue

Setup Level: Guided Setup
Appropriate for: Beginners and Advanced
Use Case: Recommended if you want to increase your AdSense CTR and overall revenue by almost 1.5-2X through machine learning technology which takes care of UI and banner blindness as well.
Opinion: Highly Recommended
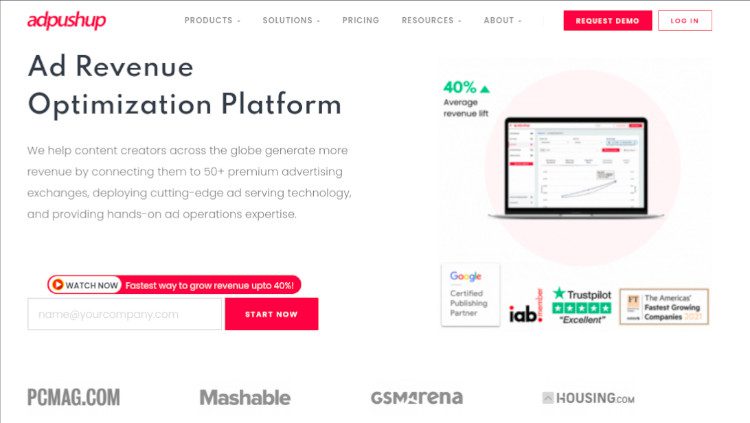
AdPushup helps publisher increase their existing ad revenue through continuous optimization, machine learning and constant monitoring. The AdPushup WordPress plugin not only lets you place Google ads intelligently, but also continuously optimize it to increase CTR, fight banner blindness and increase your overall revenue. After you install the plugin, you need to sign up with AdPushup and connect with them via chat to get started. Ad placement through AdPushup plugin is divided into two sections- one is structural ads and the other is in-content ads.
Structural ads:
Structural placements can be manually created. One can test as many number of ad unit sizes on a particular placement. Like, if you consider the header ad placement, you can test the following ad sizes on desktop traffic all at the same time (728×90, 900×90, 900×120 (custom size), 980×250 and custom sizes). Also for mobile traffic you can test 320×50, 320×100 on one placement.
Also for a sidebar you can test 300×600, 300×250, 336×280 all at one placement and the algorithm will optimize the ad unit which generates the maximum yield. The maximum yield is a function of CPC and CTR. Structural ads can be right, left, center aligned with proper padding in just clicks with the AdPushup editor. You don’t need to write lines of code for this.
In-content ads:
AdPushup uses industry’s first patent pending in-content ad placement technology that allows publishers to wrap up their premium content area (like the entire article body) and let the system automatically places ads. You can set the maximum number of ads that can be placed within the content. The maximum allowed is 5, provided you have good quality content and requires an approval from Google which is taken care by AdPushup.
It normally takes a day or two to get started with AdPushup. They offer a 30 days free trail after which the standard billing starts at 8% of your adsense revenue. Since AdPushup is a Google AdSense Certified Partner, the revenue share is managed by AdSense and you don’t need to pay anything separately. Publishers has seen a revenue uplift of 30% to 100% and in come cases more. The average increase in AdSense revenue across its publisher network is almost 70%.
Wrapping Up-
There are a few more WordPress plugins like AdRotate, Ad Inserter, Easy AdSense and Official Google AdSense plugin. You might explore these plugin, however, the once I mentioned does the work fine. If you ask me how to get started-
I would suggest you get started with AdPushup if you’re making more than $1000, you can see good improvements with their ad setup. If your revenue is around $500 and less, you can ask them to get you approved for an AdX account. With AdX you can run 5 ad units on your site and have access to multiple ad exchanges, so your overall CPM will be higher. You can then use the Advanced Ads Pro Bundle and Quick AdSense plugin for the ad implementation (if you’re opting for AdX) otherwise the AdPushup plugin does the work for you.
Our Recommended Tools for Publishers:
- Best AdSense Alternative- Setupad, Ezoic
- Push Notification Network- iZooto, Unative,
- Best Contextual Ad Network- Media.net (Extra 10% for 3 months)
- Native Ad Network- Mgid
- Popup Ad Network- Exoclick, Propeller Ads
- Best Web Hosting- Bluehost, Hostgator, Stablehost, WPEngine
- Blogging Tools- OptinMonster, Astra, Teachable,

I and my team research various ad networks and can help you increase your overall ad revenue; so you could rake in more greenbacks with the best monetization platforms. Tap into the power of the online publishing business with me. I am just a mail away, so reach out to me if you want to scale up your website revenue. mail: [email protected]


